
Building a deck can transform your outdoor space into a versatile and functional area for relaxation, entertainment, or family gatherings. While many decks are attached to houses, freestanding decks—also known as floating decks—are a popular and practical alternative. Whether you’re working with a unique yard layout, avoiding damage to your home’s exterior, or simply looking for flexibility in placement, a freestanding deck can be the perfect solution.
What Is a Freestanding Deck?
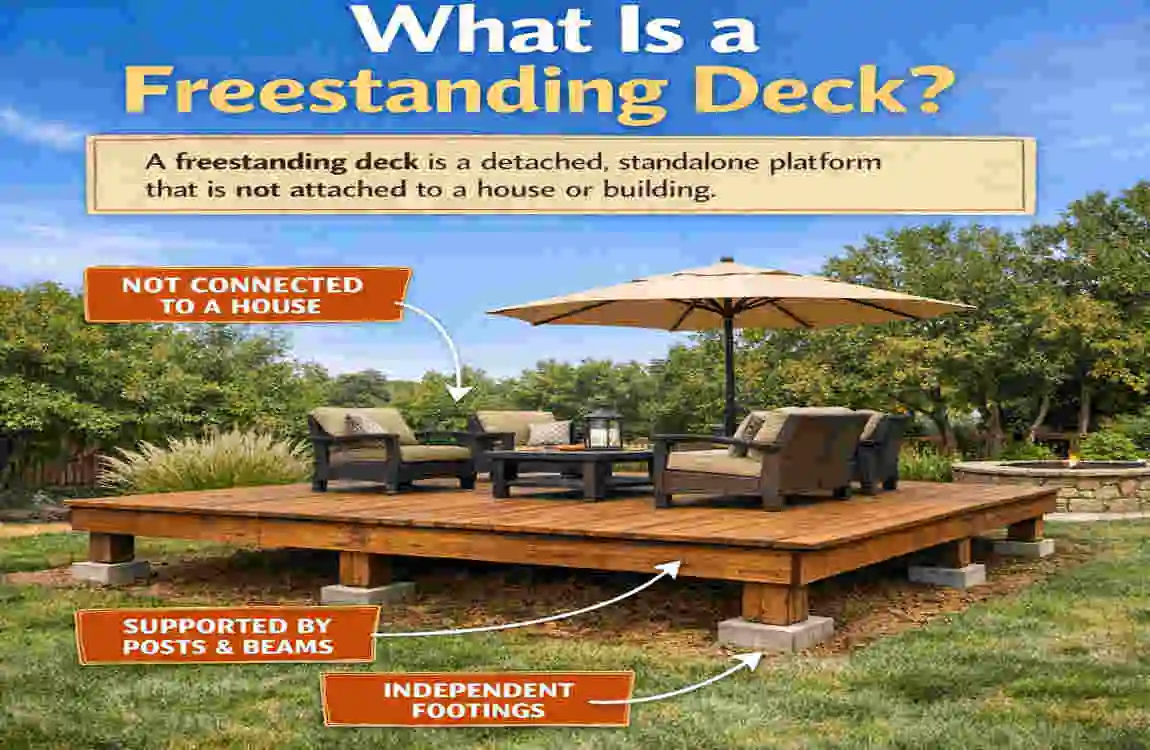
Understanding Freestanding Decks
A freestanding deck is a structure that stands independently of your home. Unlike attached decks, which rely on a ledger board affixed to the home’s exterior, freestanding decks are supported entirely by posts and beams. This makes them highly versatile and usable in various locations around your yard.
Key Differences Between Freestanding and Attached Decks
- Support Structure: While attached decks gain stability from being fastened to a house, freestanding decks rely on carefully placed posts and footings.
- Flexibility: Freestanding decks can be positioned anywhere, whether it’s in the middle of your yard, around a pool, or in a shaded corner.
- House Compatibility: Freestanding decks are ideal for homes with brick, stucco, or other materials that make attaching a ledger board challenging.
Why Choose a Freestanding Deck?
There are several reasons why building a deck not attached to your house might be the best option for your outdoor space:
- Protect Your Home Exterior: Avoid potential damage to siding, brick, or waterproofing by keeping the deck separate.
- Increased Placement Options: Freestanding decks give you total freedom to decide the best location.
- Easier Permit Process: In some areas, freestanding decks require fewer permits or inspections compared to attached decks.
Planning Your Freestanding Deck Project
Before you jump into construction, proper planning is essential to ensure your deck meets your needs and local requirements.
Assess Your Outdoor Space
Start by evaluating your yard. Where would you like the deck to be? Consider factors like:
- Sunlight and Shade: Do you want a sunny spot or a shaded retreat?
- Ground Conditions: Is the ground level, or will you need to accommodate slopes or uneven terrain?
- Accessibility: Will the deck connect to existing paths, patios, or other features?
Determine Size and Layout
Decide on the dimensions of your deck based on how you plan to use it. For example:
- A small deck (10×10 feet) may be ideal for intimate seating or a dining area.
- Larger decks (20×20 feet) can accommodate multiple zones like a lounge, grill, or firepit.
Check Local Building Codes
Many municipalities have regulations for freestanding decks. Visit your local building authority to learn about the following:
- Permit Requirements: Some areas require permits, even for small decks.
- Footing Depth: To prevent frost heave, footings may need to extend below the frost line.
- Height Restrictions: Raised decks might require railings or special supports.
Choose Materials
Select materials based on durability, cost, and aesthetics. Common options include:
- Pressure-Treated Wood: Affordable and widely available, but requires regular maintenance.
- Composite Decking: Low-maintenance and long-lasting, though more expensive upfront.
- Cedar or Redwood: Naturally resistant to rot, offering a beautiful finish.
Material Pros Cons
Pressure-treated wood: Affordable, easy to work with, requires sealing, and is prone to warping.
Composite Decking Low maintenance, durable, Higher initial cost
Cedar/Redwood Natural resistance to rot Expensive, requires occasional upkeep
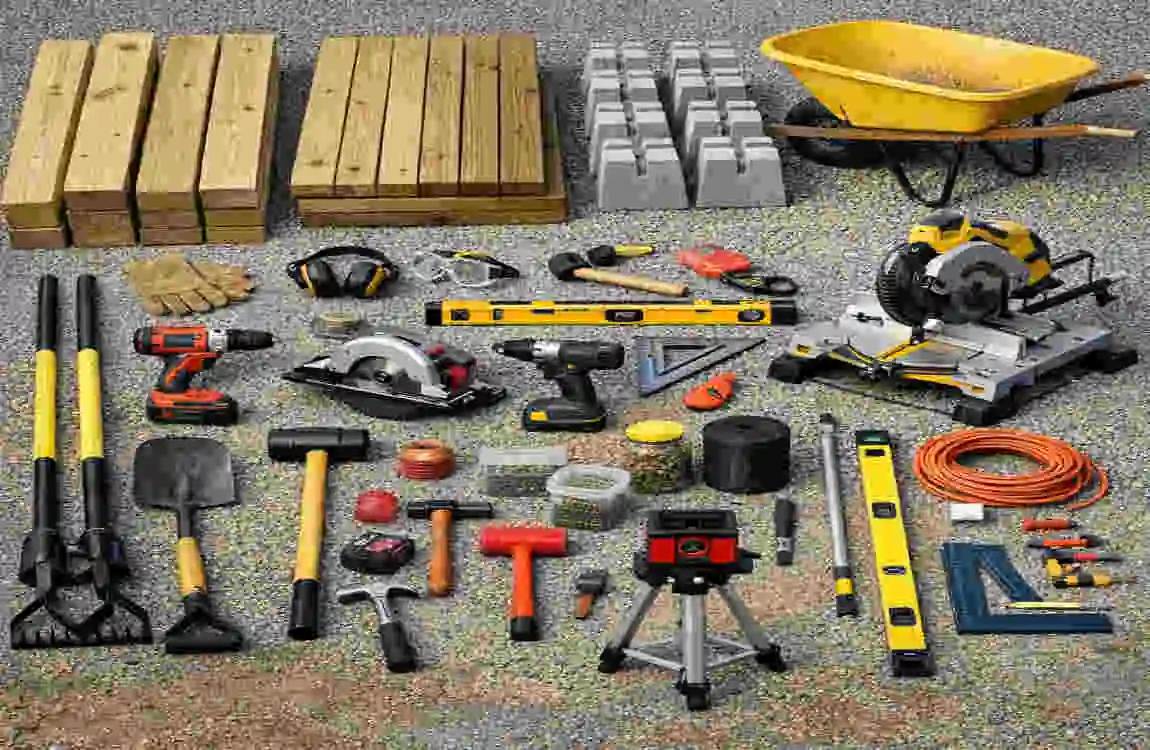
Gather Tools and Equipment
Have the following tools ready for your project:
- Measuring tape, level, and square
- Circular saw and drill
- Post hole digger and shovel
- Hammer, nails, and screws
- Safety gear (gloves, goggles)
Preparing the Site
Proper site preparation ensures your deck will be stable and durable.
Clear the Area
Remove any vegetation, rocks, or debris from your chosen site. If necessary, use a weed barrier to prevent future growth under the deck.
Level the Ground
For a stable foundation, level the ground as much as possible. On uneven terrain, you may need to use gravel or adjust footing heights to compensate.
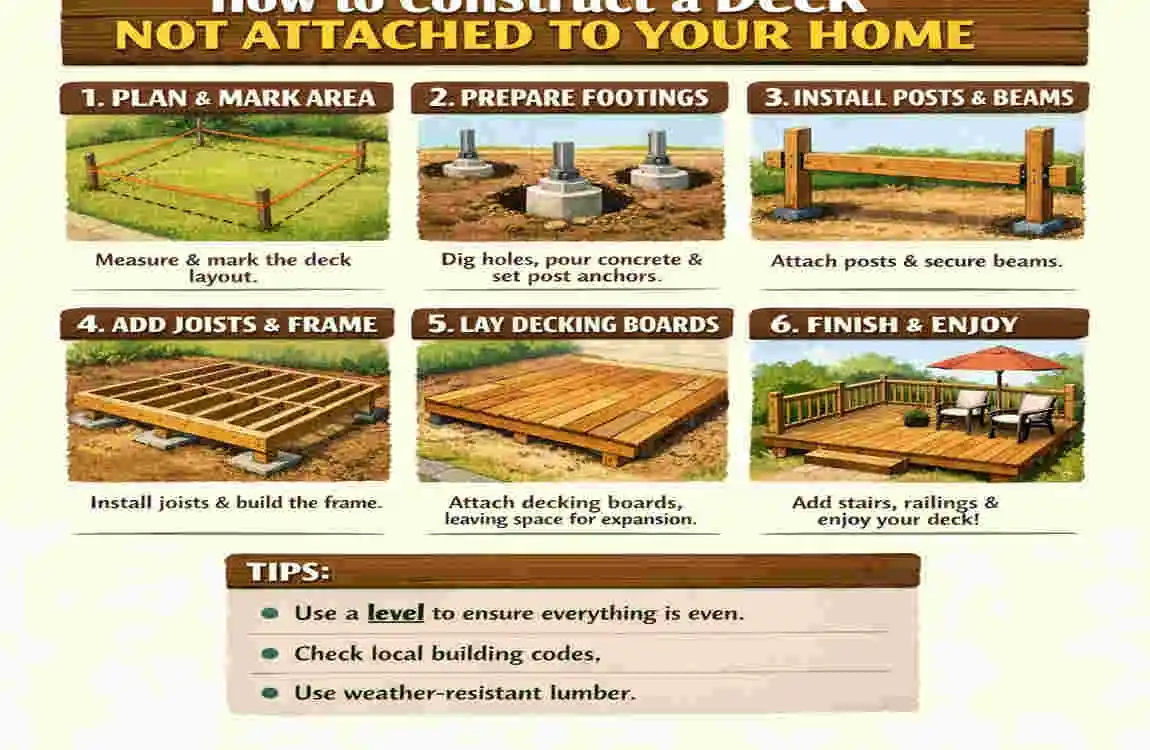
Mark the Perimeter
Use batter boards and mason string to outline the deck’s perimeter. Check for squareness by measuring diagonally from corner to corner—these measurements should be equal.
Dig Footing Holes
Mark post locations and dig holes for your footings. The depth will depend on local frost line requirements, but typically, holes should be at least 12-24 inches deep.
Building the Deck Frame
The frame is the backbone of your freestanding deck. It needs to be sturdy and well-constructed.
Assemble the Outer Frame
Using pressure-treated beams, construct the outer frame of your deck. Secure corners with galvanized screws or brackets to ensure durability.
Anchor Posts and Beams
Secure your deck’s posts using concrete footings:
- Pour concrete into the footing holes.
- Insert post anchors into the wet concrete.
- Attach posts to the anchors once the concrete has cured.
Add Joists
Attach joists to the frame using joist hangers. Be sure to space them evenly (typically 12-16 inches apart) for consistent support.
Install Diagonal Bracing
To prevent wobbling, add diagonal braces between the posts and the frame. This provides additional stability, especially for raised decks.
Installing Decking Boards
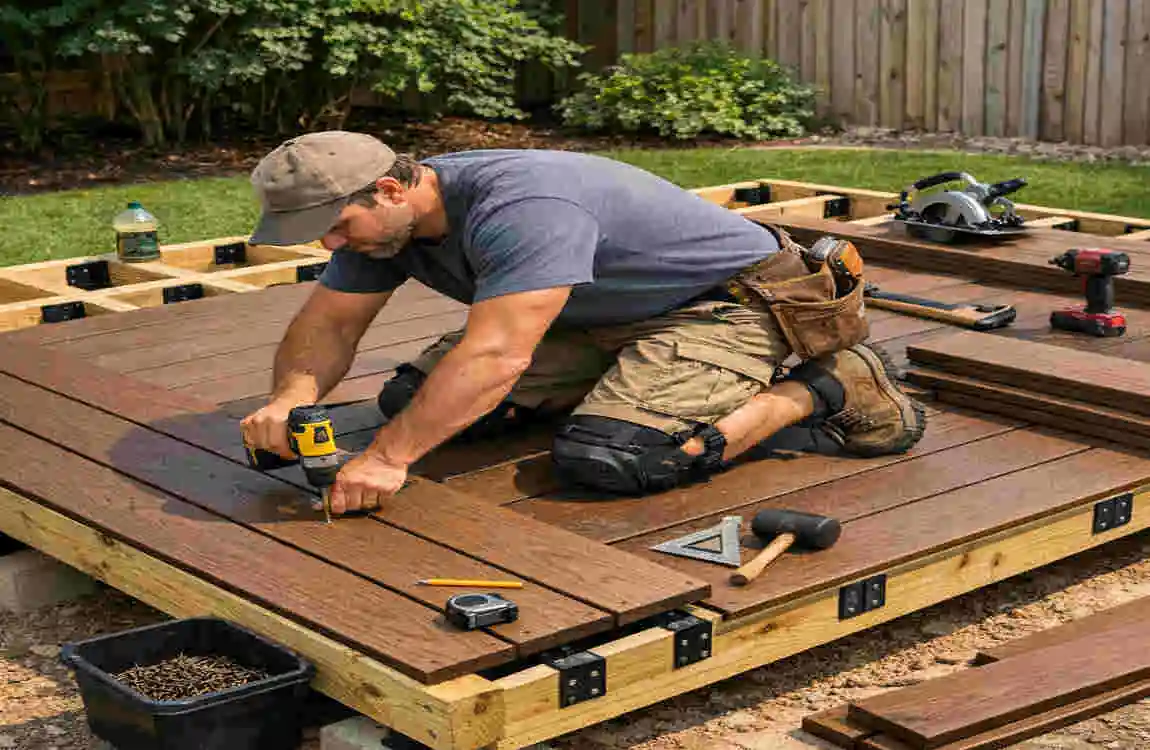
Once the frame is complete, it’s time to install the decking boards.
Lay Out Decking Boards
Start at one edge of the deck and lay boards perpendicular to the joists. Use spacers to ensure consistent gaps between boards for drainage and expansion.
Secure Boards
Fasten each board to the joists with screws or hidden fasteners for a clean look. Avoid using nails, as they can pop over time.
Trim and Finish
After installing all the boards, trim any overhangs for a polished edge. Sand rough spots and apply a sealant or stain if desired.
Optional Additions
If your deck is raised, consider adding railings or steps for safety and accessibility.
Maintenance Tips for Freestanding Decks
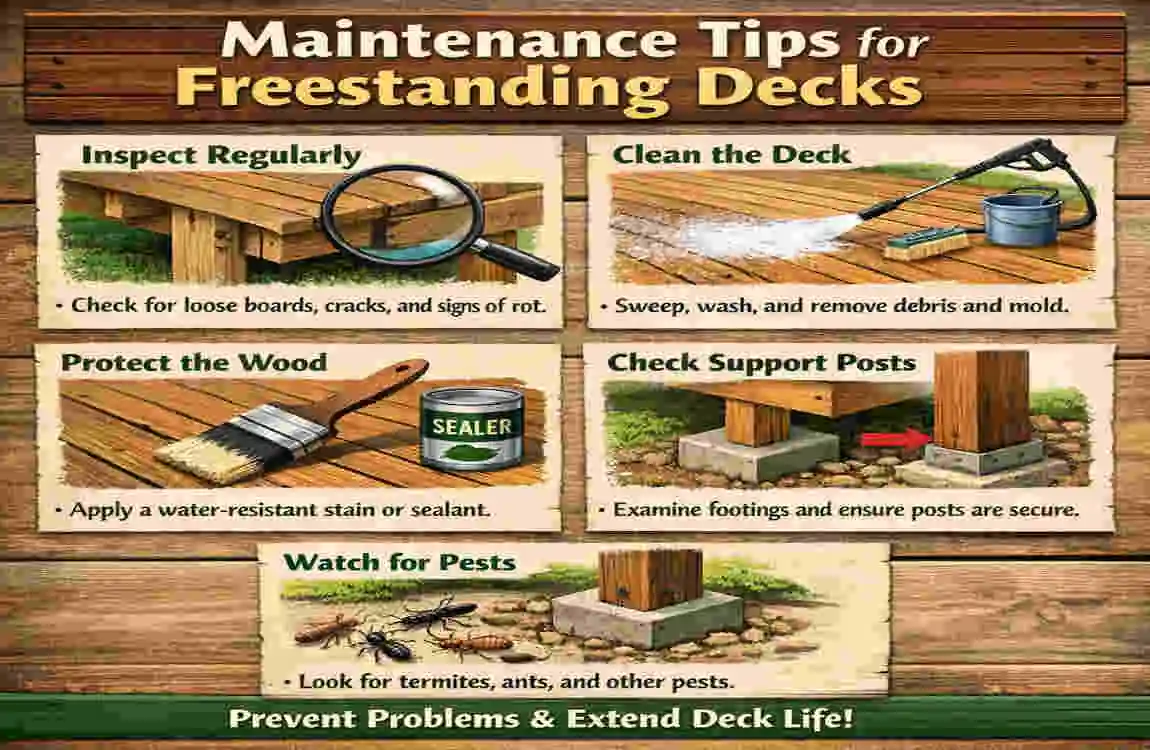
To keep your deck looking great and performing well, follow these maintenance tips:
- Clean Regularly: Sweep away debris and wash the surface with a mild cleaner.
- Seal and Protect: Apply a waterproof sealant every couple of years to prevent water damage.
- Inspect for Damage: Check posts and supports for signs of rot or instability.
- Seasonal Care: Remove snow buildup in winter and address any issues caused by extreme weather.
Advantages and Disadvantages of Freestanding Decks
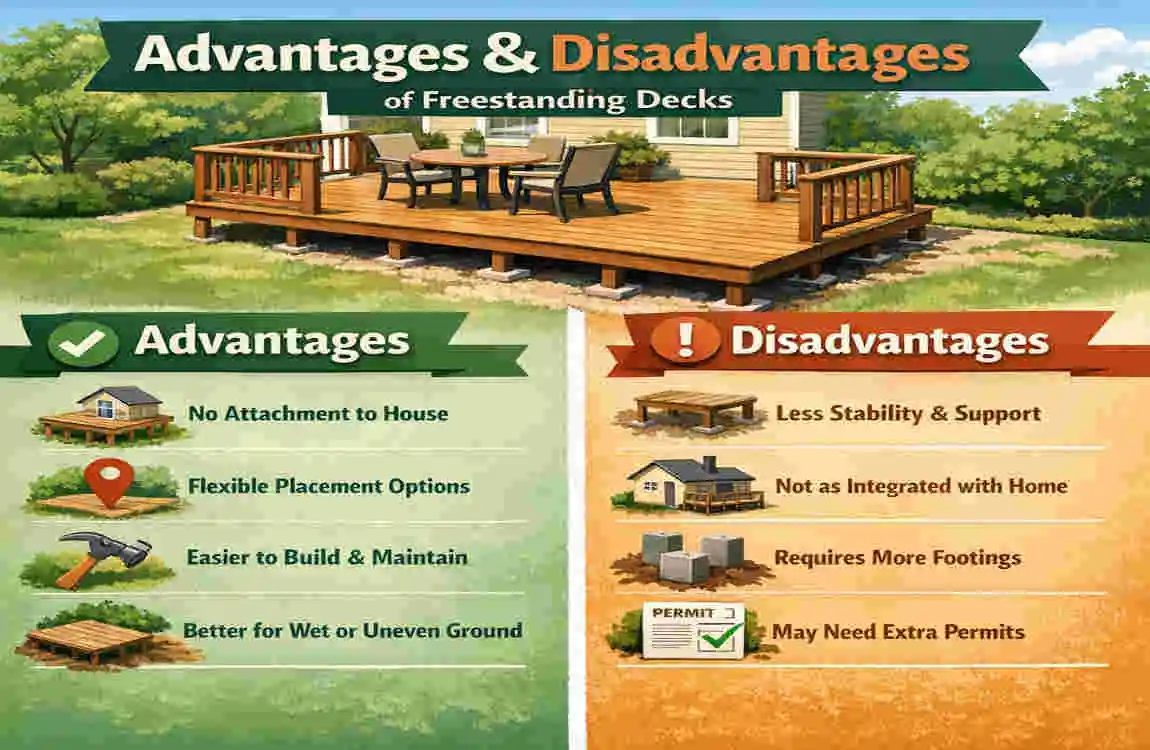
Advantages
- No Damage to Home: Avoid drilling into or altering your house’s exterior.
- Placement Flexibility: Build your deck wherever it’s most useful or visually appealing.
- Simpler Installation: No need to worry about ledger boards or siding compatibility.
Disadvantages
- Higher Material Costs: Freestanding decks require more posts and footings.
- Less Integration: It may not blend as seamlessly with your home’s design.
How to Build a Deck Not Attached to the House: FAQ
Q: What is a freestanding deck?
A freestanding deck is a stand‑alone structure supported by its own posts and beams, with no physical connection to the house.
Q: Is a freestanding deck easier to build?
Often yes. Because it isn’t attached to the house, you usually avoid cutting into siding, dealing with flashing, or meeting ledger‑board requirements.
Q: Do I still need footings?
Yes. A freestanding deck needs properly spaced concrete footings or deck blocks to stay stable and level.
Q4: How do I keep it level and secure?
Use posts, beams, and joists just like an attached deck. Make sure the deck has cross‑bracing if it’s elevated to prevent wobbling.
Q: Can deck blocks be used instead of digging holes?
For low decks, yes. Deck blocks can support a small, ground‑level freestanding deck. Taller decks usually require dug footings.
Q: How far from the house should a freestanding deck be?
You can build it close to the house—even right next to it—as long as it does not physically attach.
Q: Do I need a permit?
Possibly. Permit rules vary by area, but many places require approval if the deck is above a certain height.
Q: What materials do I need?
Common materials include pressure‑treated lumber, concrete footings or deck blocks, joist hangers, screws, and decking boards.
Q: Is drainage important?
Yes. Since it isn’t attached, ensure proper ground slope under the deck to prevent water pooling.