
A dropped kitchen sink can cause inconvenience and damage if not fixed promptly. This easy DIY guide helps homeowners quickly raise and secure a sinking kitchen sink, restoring its functionality and preventing further issues. The process typically involves supporting the sink from underneath, tightening mounting clips or brackets, and checking for any leaks or damage to ensure a stable and safe installation. This quick fix can be done with basic tools and minimal plumbing experience, saving time and money compared to professional repairs house kitchen.
Step-by-Step Guide for Fixing a Dropped Kitchen Sink
When your kitchen sink drops, it’s crucial to act quickly. Start by assessing the damage. Look for any cracks in the basin or loose plumbing connections that could complicate repairs.
Next, gather your tools and materials. You’ll need a wrench, screws, brackets, a level, and possibly some adhesive or caulking for extra support.
Once you have everything ready, secure the sink back in place. Carefully lift it and align it with its original position while checking underneath for any loose fittings.
To prevent future issues, reinforce the setup using support brackets. Install these strategically to distribute weight evenly across the countertop surface and provide added stability where needed.
Following these steps can help restore function without extensive downtime or hassle.
Assess the Damage
Before diving into repairs, take a moment to assess the situation. Look closely at your home kitchen sink and its surrounding area.
Check for visible gaps between the sink and countertop. These can indicate how far the sink has dropped. Sometimes, it might be just a slight misalignment; other times, it could be more serious.
Examine any plumbing connections beneath the sink. Leaks or loose pipes can complicate matters further. You’ll want to ensure everything is intact before proceeding.
Don’t forget about the cabinet below as well. Water damage or structural issues may influence your approach to repair.
Taking stock of these factors will help you understand what you’re up against and guide you on how best to fix it effectively without unforeseen complications later on.
Gather Tools and Materials
Before diving into the fix, it’s essential to gather your tools and materials. This preparation will save you time and frustration in the future.
You’ll need a few basic tools: a wrench for securing fittings, a screwdriver for any screws, and pliers if you encounter stubborn parts. A level can help ensure everything is straight after reinstallation.
Don’t forget about safety gear. Gloves protect your hands from sharp edges or debris. Safety glasses are wise to shield your eyes during work.
Materials like plumber’s putty or silicone sealant may also come in handy. These create watertight seals that prevent leaks once the sink is back in place.
If you’re reinforcing with brackets, grab some sturdy metal ones along with screws designed for under-sink support. Having these items ready will streamline the entire process of fixing that dropped kitchen sink.
You may also read (kitchen fitter house tools for professionals).
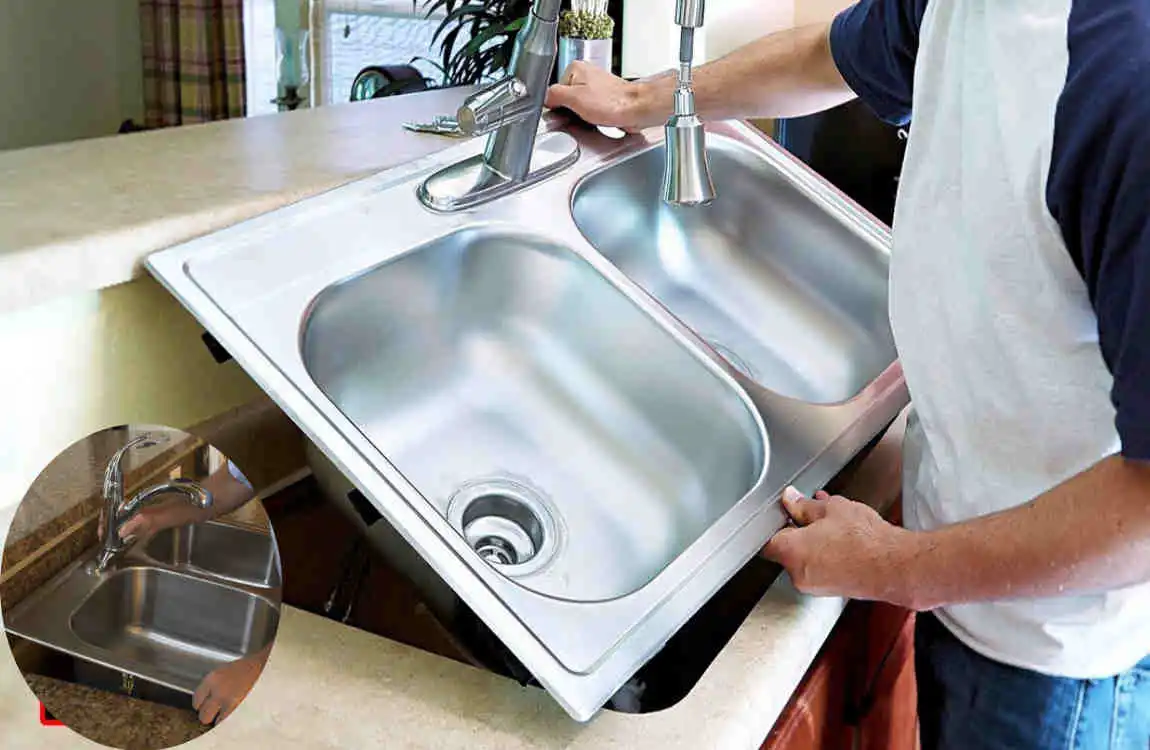
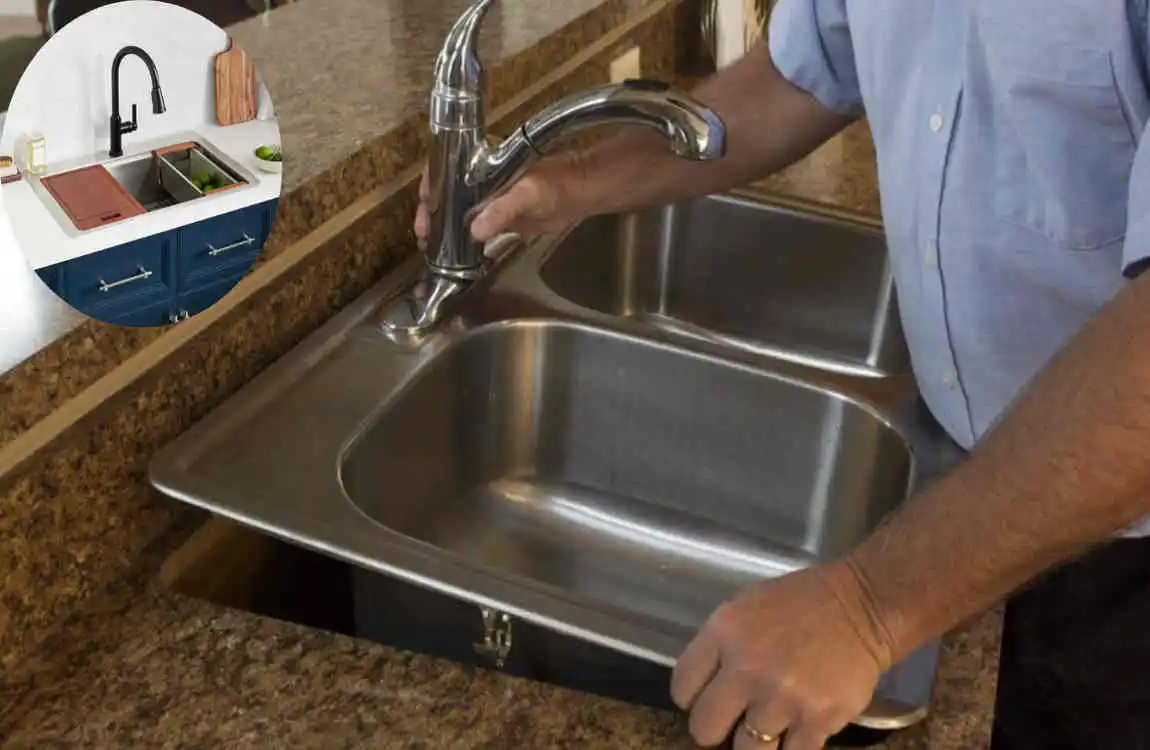
Secure the Sink Back in Place
To secure the sink back in place, start by carefully lifting it into position. Make sure it’s aligned with the countertop and any plumbing connections.
Once you have it where you want it, use a level to check for evenness. This step is crucial; an uneven sink can lead to water pooling and further issues down the line.
Next, locate the mounting clips or brackets that typically hold the sink in place. Tighten these securely using your wrench or screwdriver. Don’t overtighten them, as this could cause the sink material to crack.
If your sink has silicone caulk around its edges, apply a fresh bead once it’s secured. This not only seals gaps but also adds extra support against movement.
After everything is tightened and sealed, please give it a gentle shake to ensure stability before reconnecting plumbing fixtures.
Reinforce with Support Brackets
Once your sink is secured, it’s time to add support brackets. These are vital for preventing future mishaps. They act as a dependable anchor and help distribute weight evenly.
Choose sturdy metal brackets that can handle the load of your sink and countertop. Install them on either side of the sink where possible, ensuring they’re firmly attached to both the cabinetry and wall studs.
Positioning is key; make sure they align with existing structures. Use a level during installation to ensure everything stays straight. This will prevent any leaning or wobbling over time.
Don’t skimp on screws—opt for heavy-duty options that won’t strip easily. Tightening these down securely provides peace of mind while washing dishes or preparing meals in your kitchen oasis.
With proper reinforcement, you’ll be able to enjoy your kitchen without worrying about drops again!
You may also read (how to build a kitchen counter frame for your home).