
Are you ready to transform your home’s curb appeal and boost its security? One way to achieve this is by installing a new garage door. But why stop there? Why not take on the challenge of making your own garage door? In this comprehensive guide, we’ll walk you through the step-by-step process of making garage doors for your house.
Understanding Garage Door Types and Materials
Before you begin your DIY journey, it’s essential to familiarize yourself with the various types of garage doors and the materials available for their construction.
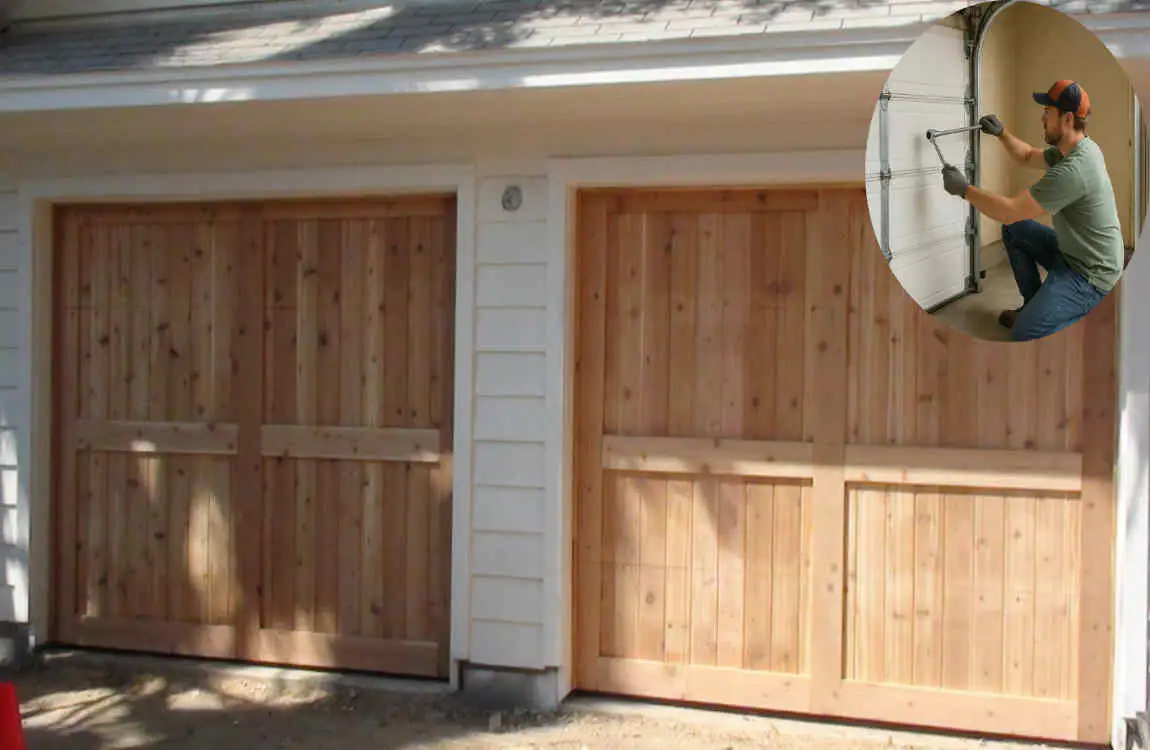
Choosing the Best Material
When selecting the best material for your DIY garage door, consider your budget, skill level, and the style of your home. If you’re looking for a classic, customizable look and don’t mind the extra maintenance, wood may be the ideal choice. If you prefer a modern, low-maintenance option, steel or fiberglass might be a better fit. And if you live near the coast, aluminum or composite could be the most suitable choice.
Measuring Your Garage Door Opening
The first step in planning your DIY garage door project is to accurately measure your garage door opening. You’ll need to measure the width, height, and depth of the opening to ensure your new house door fits perfectly.
To measure the width, start at one side of the opening and measure to the other side, ensuring that you measure at the top, middle, and bottom of the opening. For the height, measure from the floor to the top of the opening, taking multiple measurements at different points to account for any irregularities. Finally, measure the depth of the opening from the front to the back.
Safety Precautions and Preparation
Before starting your DIY garage door project, take the time to prepare your workspace and ensure your safety. Clear the area around the garage door opening and ensure you have a stable work surface. Wear protective gear, such as safety glasses and gloves, and follow all safety guidelines for the tools you’ll be using.
Step-by-Step Guide to Making Garage Doors
Now that you’ve planned your DIY garage door project, it’s time to dive into the step-by-step process of making your own garage door.
Preparing the Garage Door Frame and Workspace
Start by preparing the frame for your garage door. If you’re using wood, cut the pieces to size and assemble them into a rectangular frame. For metal frames, you may need to weld the pieces together or use a pre-fabricated frame.
Next, prepare your workspace by laying out your tools and materials within easy reach. Ensure you have a clean, flat surface to work on and sufficient space to maneuver your door components.
Cutting and Assembling the Frame Structure
Once your frame is prepared, it’s time to start cutting and assembling the garage door’s structure. If you’re using wood, use a saw to cut the panels to size and attach them to the frame using screws or nails. For metal doors, you may need to use a different method, such as welding or riveting, to attach the panels to the frame.
As you assemble the structure, ensure that you check for squareness and levelness using a level and a measuring tape. This will ensure that your door fits properly and operates smoothly.
Attaching Panels and Reinforcing the Structure
After the basic structure of your garage door is assembled, it’s time to attach the panels and reinforce the structure. Depending on the type of door you’re making, you may need to attach multiple panels to the frame, either horizontally or vertically.
To reinforce the structure, you can add additional framing members or use corner braces to strengthen the door’s corners. This will help prevent warping or sagging over time.
Finishing Touches: Sanding, Priming, and Painting or Staining
With the structure and hardware in place, it’s time to add the finishing touches to your DIY garage door. Start by sanding the surface to smooth out any rough spots or imperfections. Next, apply a primer to the door, following the manufacturer’s instructions. This will help the paint or stain adhere better and provide a more durable finish.
Tips on Weatherproofing and Insulation
To ensure your DIY garage door withstands the elements and helps keep your garage comfortable, consider adding weatherproofing and insulation. For weatherproofing, you can apply weather stripping around the edges of the door to create a tight seal when it’s closed. You can also use a weather-resistant paint or stain to protect the door from moisture and UV rays. For insulation, you can add foam board or batt insulation to the door panels, following the manufacturer’s instructions. This will help keep your garage warmer in the winter and cooler in the summer, and can also help reduce noise from outside.
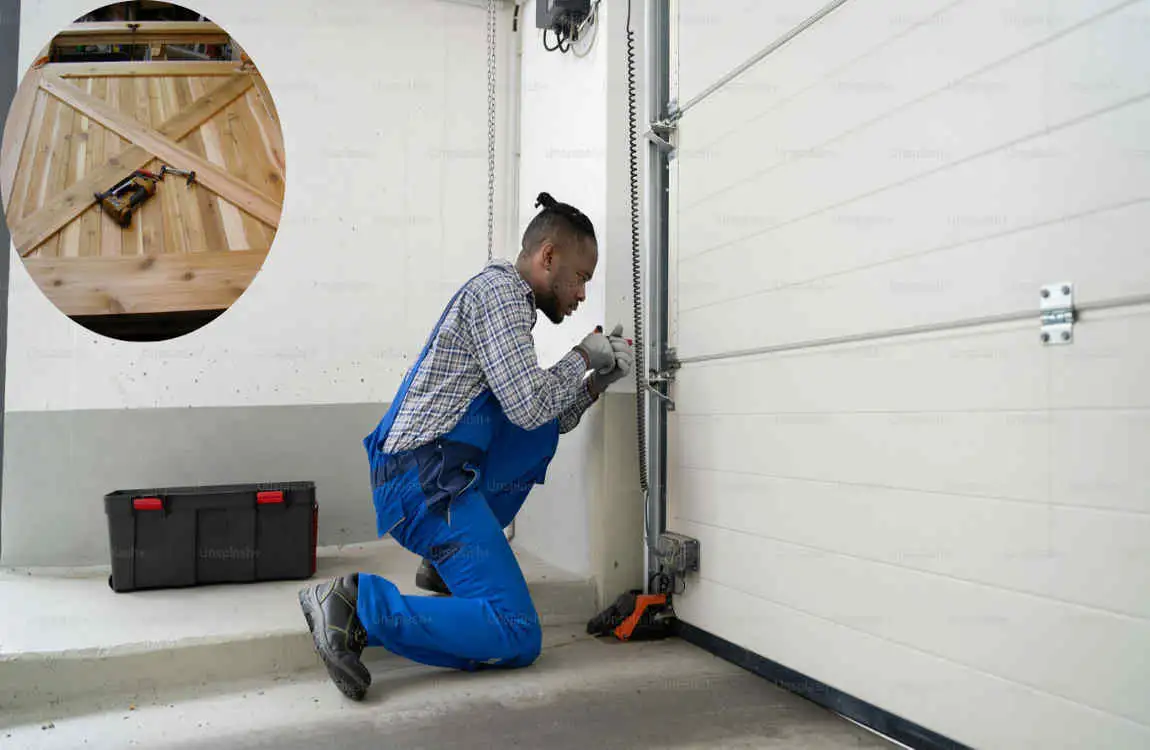
Photographs or Diagrams Description
To help illustrate the key steps in making your own garage door, consider including photographs or diagrams in your project plan. These visual aids can be invaluable for complex steps, such as assembling the frame structure or installing the track system.
Safely Mounting and Securing the Door
Start by positioning the door in the opening, making sure it’s level and plumb. Use shims or spacers as needed to ensure a proper fit.
Once the door is in position, secure it to the frame using the appropriate hardware, such as screws or bolts. Be sure to follow the manufacturer’s instructions and use the recommended number and type of fasteners.
Installing the Track System
If you’re installing a roll-up or sectional door, you’ll need to install the track system. This process can be complex, so be sure to follow the manufacturer’s instructions carefully.
Start by attaching the vertical tracks to the door frame, making sure they’re level and plumb. Then, install the horizontal tracks, connecting them to the vertical tracks and securing them to the ceiling or wall as needed.
Aligning and Testing Door Movement and Balance
With the door and track system installed, it’s time to align and test the door movement and balance. Start by adjusting the rollers and hinges as needed to ensure the door design moves smoothly and evenly.
Adjusting Hardware for Smooth Operation
As you test and adjust your DIY garage door, you may need to make further adjustments to the hardware to ensure smooth operation. This may include tightening or loosening screws, changing the position of hinges or rollers, or lubricating moving parts.
Troubleshooting Common Issues
Despite your best efforts, you may encounter some common issues during the installation process. If you’re unable to resolve a problem on your own, don’t hesitate to seek help from a professional. They can provide guidance and assistance to get your DIY garage door working smoothly.
Maintenance Tips for Your Homemade Garage Doors
Congratulations, you’ve successfully made and installed your own garage door! To keep it looking and functioning its best, be sure to follow these maintenance tips:
Routine Cleaning and Inspection
Regular cleaning and inspection are essential for maintaining your DIY garage door. Use a mild detergent and water to clean the door surface, removing any dirt, grime, or stains.
While cleaning, take the time to inspect the door for any signs of wear, damage, or needed repairs. Look for cracks, warping, or loose hardware, and address any issues promptly to prevent further damage.
Lubrication of Moving Parts
To keep your garage door operating smoothly, be sure to lubricate the moving parts on a regular basis. Use a silicone-based lubricant on the rollers, hinges, and other moving components, following the manufacturer’s instructions.
Lubrication not only reduces friction and wear but also helps prevent rust and corrosion, extending the life of your DIY garage door.
Cost Savings and Customization Benefits
One of the most significant advantages of making your own garage door is the potential for substantial cost savings and customization options. Let’s explore these benefits in more detail.
Comparing DIY Garage Door Cost vs Professional Installation
When you make your own garage door, you can save a significant amount of money compared to hiring a professional. The exact savings will depend on factors such as the materials you choose, the size and complexity of your door, and your location.
On average, a professionally installed garage door can cost anywhere from $750 to $5,000 or more, depending on the type and features. By making your own door, you can save hundreds or even thousands of dollars, especially if you choose more affordable materials like wood or steel.
Personalized Design Choices
Another significant benefit of making your own garage door is the ability to customize it to your exact specifications. You can choose the materials, colors, and finishes that best suit your home’s style and your personal preferences.
With a DIY garage door, you can also add unique features, such as windows, decorative hardware, or custom panel designs. This allows you to create a one-of-a-kind door that truly reflects your personality and enhances your home’s curb appeal.
Incorporating Energy-Efficient or Smart Garage Door Features
You can also install a brilliant garage door opener that allows you to control and monitor your door remotely using your smartphone. This provides added convenience and security, and helps you save on energy costs by allowing you to open and close the door from anywhere.
By making your own garage design, you have the flexibility to choose the features that matter most to you and create a door that perfectly suits your needs and budget.