Roof tar, a common material used for sealing and waterproofing roofs, is highly valued for its adhesive properties and durability. However, like any construction material, its effectiveness and application can be significantly impacted by weather conditions. This article explores whether roof tar will dry in the rain, detailing the properties of roof tar, optimal application conditions, and the potential consequences of applying it in wet weather.
Understanding Roof Tar

What is Roof Tar?
Roof tar is a thick, sticky substance derived from petroleum or coal tar. It is primarily used to:
- Seal leaks and cracks: Its waterproof properties make it ideal for repairing and sealing roofs.
- Protect roofing materials: It adds a layer of protection against weathering and UV rays.
- Bond roofing materials: It helps adhere roofing materials like shingles or roofing felt.
Types of Roof Tar
There are two main types of roof tar:
- Coal Tar: A byproduct of coal processing, known for its durability and water resistance.
- Asphalt Tar: Derived from petroleum, more commonly used due to its versatility and ease of application.
Properties of Roof Tar
Roof tar is:
- Waterproof: It creates a water-resistant barrier, preventing leaks and water damage.
- Adhesive: It bonds well with various roofing materials.
- Flexible: It can expand and contract with temperature changes, reducing the risk of cracking.
Optimal Conditions for Applying Roof Tar
Temperature
Roof tar should ideally be applied when temperatures are between 70°F and 100°F (21°C to 38°C). At these temperatures, the tar is pliable and spreads easily.
Humidity
Low humidity levels are preferable as high humidity can slow down the drying process and affect the adhesion of the tar.
Weather Conditions
- Dry Weather: Essential for proper application and drying of roof tar.
- Wind Conditions: Light wind is acceptable, but strong winds can carry debris that may stick to the tar.
Impact of Rain on Roof Tar Application
Wet Surface Issues
Applying roof tar to a wet surface can cause several issues:
- Poor Adhesion: Roof tar adheres poorly to wet surfaces, leading to an ineffective seal.
- Blistering and Bubbling: Trapped moisture can cause blisters and bubbles as the tar dries.
Drying Time
Rain significantly affects the drying time of roof tar:
- Extended Drying Time: Moist conditions slow the evaporation of solvents in the tar, prolonging the drying process.
- Incomplete Curing: Inadequate drying can prevent the tar from curing properly, reducing its effectiveness and longevity.
Potential Damage
Rain can cause immediate and long-term damage to freshly applied roof tar:
- Immediate Washout: Rain can wash away or dilute the tar before it sets, wasting material and effort.
- Long-Term Damage: Poorly applied tar in wet conditions can lead to leaks and water damage, necessitating further repairs.
Preparing for Roof Tar Application
Weather Forecasting
Before applying roof tar, check the weather forecast for at least 24-48 hours:
- Dry Spell: Ensure a period of dry weather to allow adequate drying and curing time.
- Temperature Range: Confirm temperatures within the optimal range.
Surface Preparation
Ensure the roof surface is:
- Clean: Remove dirt, debris, and old tar residues.
- Dry: Allow sufficient time for the roof to dry after any rainfall or cleaning.
Tools and Materials
Gather necessary tools and materials, including:
- Tar Applicators: Brushes, squeegees, or trowels suitable for spreading tar.
- Protective Gear: Gloves, masks, and safety glasses.
- Tar Heaters: If applying in cooler weather, a tar heater can help maintain the ideal consistency.
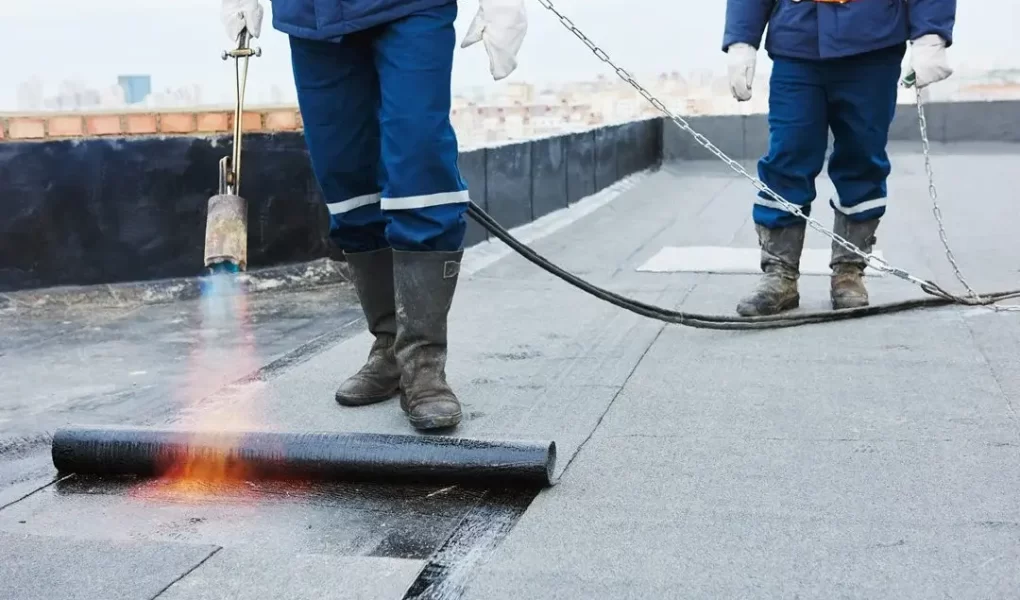
Step-by-Step Application Process
Step 1: Surface Cleaning
Clean the roof surface thoroughly to ensure good adhesion.
Step 2: Surface Drying
Check that the surface is completely dry before application. If necessary, wait for an additional drying period.
Step 3: Heating the Tar
Heat the tar to the recommended temperature if necessary, ensuring it is pliable and easy to spread.
Step 4: Applying the Tar
Spread the tar evenly across the roof surface using appropriate applicators. Ensure a consistent layer to avoid gaps and weak spots.
Step 5: Monitoring Drying
Monitor the drying process, especially if rain is forecast. Protect the tarred surface with temporary coverings if rain threatens during the drying period.
Post-Application Considerations
Inspecting the Roof
Once the tar has dried, inspect the roof for any signs of blistering, bubbling, or incomplete coverage. Address any issues promptly to ensure a durable and effective seal.
Regular Maintenance
Regular maintenance can extend the lifespan of the roof tar:
- Inspections: Periodic inspections to check for cracks, leaks, or wear.
- Reapplication: Apply additional tar layers as needed to maintain the seal.
Weatherproofing Measures
Consider additional weatherproofing measures to protect the tarred surface from extreme weather conditions:
- Protective Coatings: Apply protective coatings to shield the tar from UV rays and weathering.
- Roofing Accessories: Use roofing accessories like drip edges and gutters to manage water flow and prevent water accumulation.


