
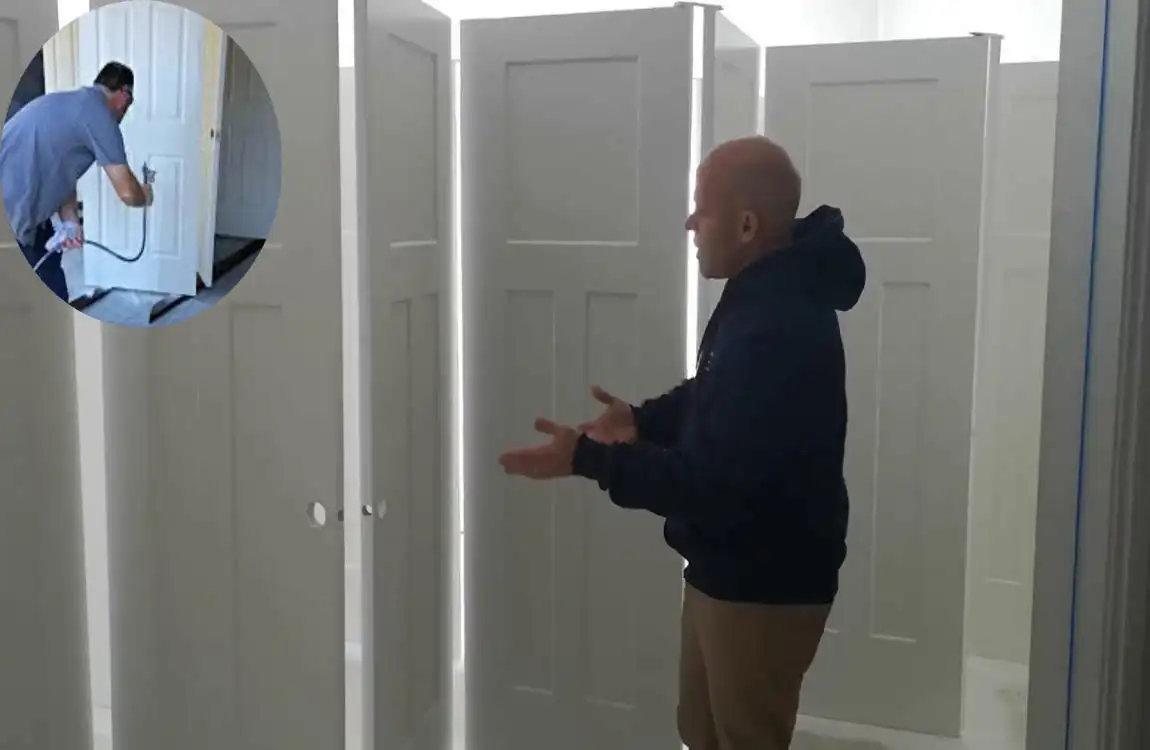
When painting doors standing up, the key is to set up a sturdy, vertical workspace where the door can be safely leaned or clamped. This DIY method helps you paint efficiently, avoiding drips and ensuring even coverage. It’s an easy way to refresh your home’s look with minimal mess and effort home door.
Advantages of Painting Doors Standing Up
Painting doors standing up offers a variety of benefits that can transform your DIY experience.
First, it allows for better access to all surfaces. You can easily reach every nook and cranny without awkward bending or stretching.
Another advantage is the ability to assess coverage in real-time. Standing gives you a clear view of how well each section is painted, allowing for quick adjustments.
It makes clean-up easier since you’re not crouching on the floor or dealing with dropped brushes and paint cans scattered everywhere. This simple change can elevate your entire project experience significantly!
Materials and Tools Needed for the Project
To successfully paint doors standing up, gathering the right materials and tools is essential. Start with high-quality paint that suits your door’s material—latex or oil-based options work well.
Next, you’ll need primer to ensure better adhesion and a smooth finish. Don’t overlook brushes; a foam roller can help you cover larger areas, while angled brushes are great for edges.
A drop cloth will protect your floors from spills and splatters. Remember to grab painter’s tape, as it helps achieve crisp lines around hardware or glass panels.
For convenience, have sandpaper on hand to prep surfaces by smoothing out imperfections before painting. A paint tray is useful too for easy access during application.
Wear gloves and an apron to keep yourself clean throughout the process. Having these items ready will streamline your project and enhance the final result.
You may also read (how to wrap foil around your home door knob).
Step-by-Step Guide to Painting a Door Standing Up
Start by preparing your workspace. Lay down a drop cloth to catch any drips and ensure you have enough room to maneuver.
Next, remove the door from its hinges. This step makes everything easier and helps prevent unwanted paint splatters on surrounding areas.
Once the door is off, clean it thoroughly. Use warm, soapy water or a mild cleaner to eliminate dirt and grease.
Now it’s time for sanding. Lightly sand the surface with fine-grit sandpaper to create a smooth base for painting. Afterward, wipe away dust with a damp cloth.
Apply painter’s tape along edges where you want sharp lines, such as around panels or doorknobs.
Using a high-quality primer will enhance adhesion and coverage. Brush it evenly across the entire home door before letting it dry completely.
After priming, choose your preferred paint color and use either a brush or roller for application, starting from top to bottom.
Tips and Tricks for a Professional Finish
For a professional finish, start with high-quality paint. Investing in premium products can make all the difference in durability and appearance.
Preparation is key. To create a smooth surface, lightly sand the door. Remove dust before painting for an even application.
Use a foam roller for larger areas; it reduces brush strokes and applies paint evenly. For edges and intricate details, opt for a synthetic bristle brush.
Apply multiple thin coats instead of one thick layer. This technique helps avoid drips and ensures better adhesion.
Don’t rush the drying process between coats—allow adequate time for each layer to cure correctly. A fan or good ventilation can speed things up without compromising quality.
Consider adding a topcoat once everything dries completely. It enhances longevity while providing that extra sheen you desire on your beautifully painted doors.
You may also read (transform your attic door disguise ideas for homeowners).