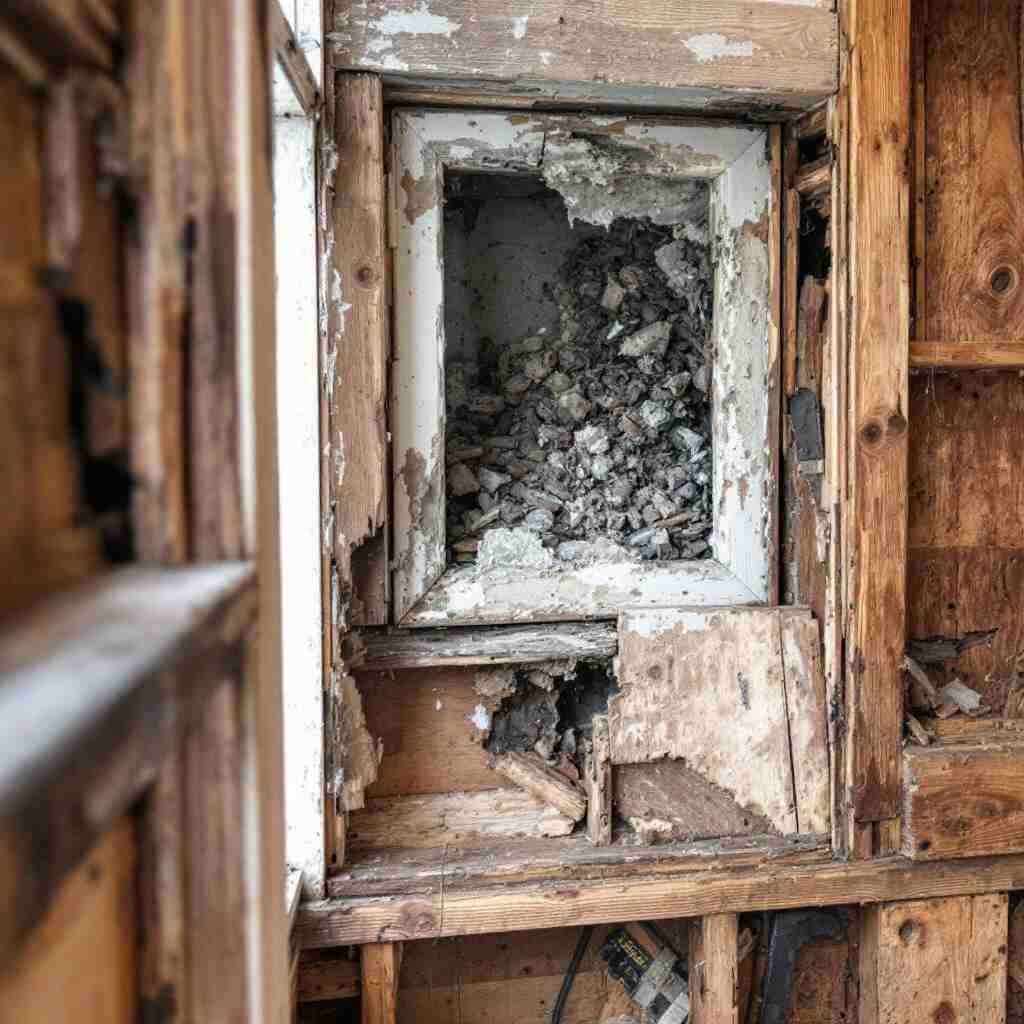
Bay windows are a charming architectural feature that can enhance the aesthetic appeal and functionality of any home. These windows not only allow more natural light to enter a room but also provide additional space that can be used for seating or decoration. However, like any wooden structure, bay windows are susceptible to wood rot, a common issue that can compromise their beauty and structural integrity.
Wood rot in bay windows is primarily caused by moisture and poor maintenance. When wood is exposed to prolonged moisture, whether from rain, humidity, or leaks, it begins to decay. This decay is exacerbated by insufficient paint or sealant, which fails to protect the wood from moisture ingress. Addressing wood rot promptly is crucial to maintaining the structural integrity and longevity of your bay windows. Ignoring the problem can lead to more extensive damage, requiring costly repairs or even replacement.
Understanding Bay Window Wood Rot

What is Wood Rot?
Wood rot is a type of decay that affects wooden structures, caused by fungi that thrive in moist conditions. There are two main types of wood rot: dry rot and wet rot. Dry rot, also known as brown rot, occurs when wood is exposed to moisture but then dries out, leaving it brittle and crumbly. Wet rot, on the other hand, remains damp and is often softer and spongier.
Causes of Wood Rot in Bay Windows
The primary cause of wood rot in bay windows is prolonged exposure to moisture. This can result from rain, high humidity, or leaks that allow water to seep into the wood. Insufficient paint or sealant can exacerbate the problem by failing to provide a protective barrier against moisture. Additionally, poor drainage and design flaws can lead to water pooling around the window, further increasing the risk of rot.
Signs of Wood Rot
Identifying wood rot early is essential to prevent further damage. Visual indicators of wood rot include discoloration, where the wood may appear darker or lighter than its natural color, and soft spots that feel spongy to the touch. Structural signs include sagging or gaps in the window frame, which can indicate that the wood has weakened significantly.
Tools and Materials Needed
Essential Tools
To repair wood rot in bay windows, you’ll need a set of essential tools. These include screwdrivers, chisels, pry bars, and sanders, which will help you remove the rotted wood and prepare the area for repair. Safety gear, such as gloves and goggles, is also crucial to protect yourself during the repair process.
Materials for Repair
The materials required for repairing wood rot include wood hardeners, epoxy fillers, and replacement wood. Wood hardeners are used to strengthen the remaining wood and prevent future rot, while epoxy fillers can fill in minor damage. Replacement wood may be necessary for more extensive rot. Additionally, you’ll need paints and sealants suitable for exterior use to protect the repaired area from future moisture exposure.
Step-by-Step Guide to Repairing Bay Window Wood Rot
Assess the Damage
Begin by conducting a thorough inspection of the bay window to assess the extent of the damage. Look for visual and structural signs of wood rot, such as discoloration, soft spots, sagging, or gaps. This assessment will help you determine whether you need to replace entire sections of wood or if spot repairs will suffice.
Remove Rotted Wood
Once you’ve assessed the damage, the next step is to remove the rotted wood. Use chisels and pry bars to carefully remove the damaged areas, ensuring that you don’t damage the surrounding healthy wood. This step is crucial to prevent the spread of rot and prepare the area for repair.
Treat the Area
After removing the rotted wood, treat the area with a wood hardener. This product penetrates the wood fibers, strengthening them and preventing future rot. Apply the wood hardener according to the manufacturer’s instructions, ensuring that it reaches all affected areas.
Replace or Fill Damaged Sections
Depending on the extent of the damage, you may need to replace entire sections of wood or fill minor damage with epoxy. For extensive rot, cut replacement wood to size and secure it in place. For minor damage, use epoxy fillers to fill in gaps and smooth the surface.
Sand and Smooth the Surface
Once the replacement wood or epoxy has set, sand the surface to ensure it is smooth and level with the surrounding area. This step is essential for preparing the surface for painting and ensuring a seamless finish.
Prime and Paint
Finally, prime and paint the repaired area to protect it from future moisture exposure. Choose a high-quality exterior paint and apply it evenly, following the manufacturer’s instructions. This step not only enhances the appearance of your bay window but also provides a protective barrier against the elements.
Preventive Measures for Future Protection
Regular Maintenance Tips
Regular maintenance is key to preventing wood rot in bay windows. Conduct periodic inspections to identify any early signs of damage and address them promptly. This proactive approach can save you time and money in the long run.
Effective Sealing Techniques
Proper sealing is essential to prevent moisture ingress. Use high-quality caulking and sealants to seal gaps and joints around the window. This practice helps keep water out and protects the wood from rot.
Choosing the Right Materials
When repairing or replacing wood in bay windows, choose materials that are resistant to moisture. Moisture-resistant paints and finishes can provide an additional layer of protection, ensuring the longevity of your windows.
When to Call a Professional
Identifying Extensive Damage
In some cases, the damage may be too extensive for a DIY repair. Signs that indicate professional help is needed include large areas of rot, structural instability, or if the repair involves complex carpentry work.
Benefits of Hiring a Professional
Hiring a professional can ensure that the repair is done correctly and efficiently. Professionals have the expertise and tools necessary to handle complex repairs, ensuring quality work and peace of mind.

