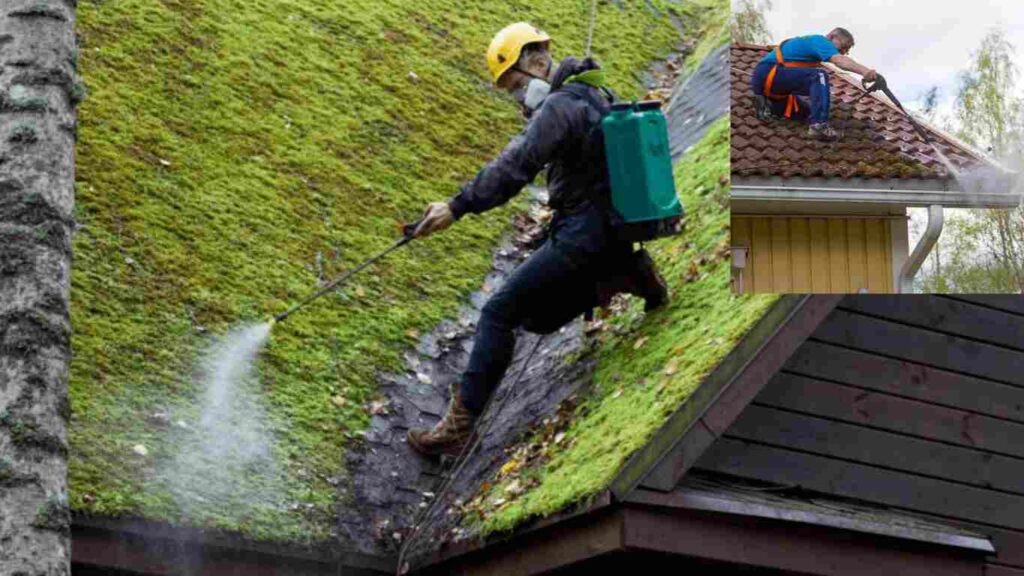
Moss growth on roofs is a common issue faced by homeowners, but it’s often overlooked until it becomes a serious problem.
Did you know that moss can grow on your roof in as little as a few weeks under the right conditions? Moss thrives in damp, shaded environments, and once it takes hold, it can cause significant damage to your roof. Left unchecked, moss can lift shingles, trap moisture, and even lead to leaks.
Understanding Moss Growth

What is Moss?
Moss is a small, non-vascular plant that thrives in moist, shaded environments. Unlike other plants, moss doesn’t have roots. Instead, it absorbs water and nutrients directly through its leaves. While moss can be beautiful in forests, it’s far less welcome on your roof.
Why Does Moss Grow on Roofs?
Moss growth on roofs is primarily caused by environmental factors. Here are the key conditions that encourage moss to thrive:
- Shade: Roofs shaded by trees or nearby structures are more prone to moss growth.
- Moisture: Moss loves damp environments. Rain, dew, and humidity create the perfect breeding ground.
- Aging Roofs: Older roofs with worn shingles or poor drainage are more susceptible to moss.
Potential Risks of Moss on Roofs
Moss isn’t just an eyesore—it can cause real damage. Here’s how:
- Shingle Damage: Moss can lift shingles, allowing water to seep underneath and cause rot.
- Trapped Moisture: Moss holds moisture against the roof, leading to mold and mildew.
- Structural Issues: Over time, moss can weaken the roof’s structure, leading to leaks and costly repairs.
- Reduced Curb Appeal: A moss-covered roof can make your home look neglected, potentially lowering its value.
Assessing Your Roof Condition

Inspecting Your Roof for Moss
Before you start cleaning, it’s important to assess the condition of your roof. Here’s how to do it safely:
- Use Binoculars: If you’re uncomfortable climbing onto your roof, use binoculars to inspect it from the ground.
- Look for Signs of Moss: Moss appears as green or dark patches on shingles. Pay attention to shaded areas.
- Check for Damage: Look for lifted shingles, cracks, or signs of water damage.
Determining the Severity of the Problem
Not all moss infestations are the same. Here’s how to gauge the severity:
- Light Infestation: Small patches of moss that are easy to remove manually.
- Moderate Infestation: Larger areas of moss that may require chemical treatments.
- Severe Infestation: Extensive moss growth that has caused visible damage to the roof.
Understanding the severity will help you choose the right removal method.
Preparing for Moss Removal

Safety Precautions
Roof cleaning can be dangerous, so safety should be your top priority. Here’s what you’ll need:
- Protective Gear: Wear gloves, goggles, and non-slip shoes.
- Harness: Use a safety harness if you’ll be working on a steep roof.
- Ladder Safety: Ensure your ladder is stable and placed on a flat surface.
Tools and Materials Needed
Here’s a list of essential tools and materials for moss removal:
- Ladder: For accessing the roof.
- Soft Brush or Scraper: For manual removal.
- Cleaning Solution: Choose between homemade solutions (like vinegar and water) or commercial moss removers.
- Garden Hose: For rinsing the roof.
- Bucket and Sponge: For applying cleaning solutions.
You may also read (how many squares of shingles are in a bundle.)
Methods for Cleaning Moss Off Roof

Manual Removal
Manual removal is the simplest method for light infestations. Here’s how to do it:
- Start at the Top: Work from the top of the roof downward to avoid damaging shingles.
- Use a Soft Brush: Gently scrub the moss with a soft brush or scraper.
- Rinse with Water: Use a garden hose to rinse away debris.
Tips: Avoid using hard bristles or metal tools, as they can damage shingles.
Chemical Treatments
For moderate infestations, chemical treatments can be effective. Follow these steps:
- Choose a Solution: Use a commercial moss remover or a homemade mix of vinegar and water.
- Apply the Solution: Spray the solution onto the moss and let it sit for 15-20 minutes.
- Rinse Thoroughly: Use a garden hose to rinse the roof.
Safety Note: Always follow the manufacturer’s instructions and wear protective gear.
Pressure Washing
Pressure washing is suitable for severe infestations but should be used with caution. Here’s how:
- Set the Pressure: Use a low-pressure setting to avoid damaging shingles.
- Spray at an Angle: Spray at a downward angle to prevent water from seeping under shingles.
- Inspect for Damage: Check the roof for any signs of damage after washing.
Preventative Measures
Prevention is the best way to keep moss from returning. Here are some tips:
- Install Zinc or Copper Strips: These metals release ions that inhibit moss growth.
- Trim Overhanging Branches: Reduce shade by trimming trees near your roof.
- Regular Maintenance: Clean your roof annually to prevent moss buildup.
Aftercare and Maintenance
Post-Cleaning Inspection
After removing moss, inspect your roof for any remaining debris or damage. Look for:
- Loose or missing shingles.
- Signs of water damage.
- Areas that may need additional cleaning.
Long-Term Maintenance Tips
To keep your roof moss-free, follow these maintenance tips:
- Schedule Regular Inspections: Check your roof at least twice a year.
- Clean Gutters: Ensure proper drainage by keeping gutters clear of debris.
- Apply Preventative Treatments: Use moss inhibitors to prevent regrowth.
Conclusion
Recap of Key Points
Cleaning moss off your roof is essential for maintaining its integrity and appearance. By understanding why moss grows, assessing your roof’s condition, and using the right removal methods, you can protect your home from damage.
You may also read (do roofing nails need to penetrate.)

