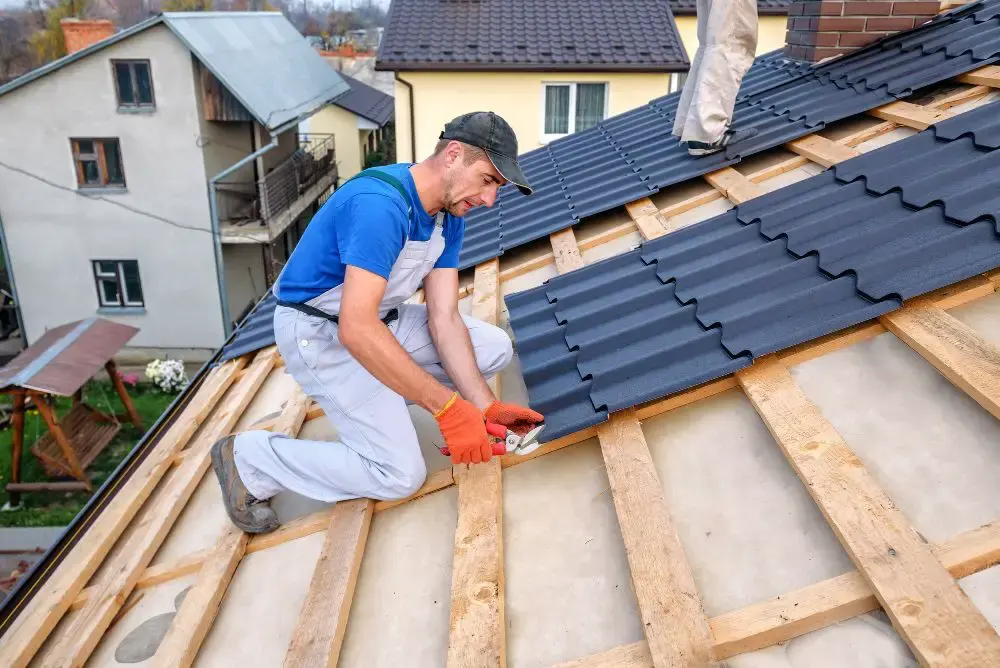
Metal roofing has become increasingly popular among homeowners and builders alike. This surge in popularity is due to its durability, energy efficiency, and aesthetic versatility. Metal roofs are not only robust but also offer a sleek, modern look that can enhance the curb appeal of any property. They are known for their longevity, often lasting several decades with minimal maintenance, which makes them a cost-effective choice in the long run.
Purpose of the Guide
This guide focuses on the proper technique of overlapping metal roofing panels lengthwise. Overlapping panels correctly is crucial for ensuring the roof’s durability and preventing leaks. By following the right installation methods, you can maximize the lifespan of your metal roof and enjoy its benefits for years to come. This guide will walk you through the process, providing tips and insights to help you achieve a professional finish.

Understanding Metal Roofing
Types of Metal Roofing Materials
Metal roofing comes in various materials, each with its own set of advantages and disadvantages. The most common materials include:
- Steel: Known for its strength and durability, steel is often coated with a layer of zinc or aluminum to prevent rust.
- Aluminum: Lightweight and resistant to corrosion, making it ideal for coastal areas.
- Copper: Offers a unique aesthetic and can last over a century, but it is more expensive than other options.
Each material has its pros and cons. For instance, while steel is strong, it can be prone to rust if not properly coated. Aluminum is resistant to rust but can be more expensive than steel. Copper, while beautiful and long-lasting, comes with a higher price tag.
Benefits of Metal Roofing
Metal roofs are celebrated for their durability, energy efficiency, and aesthetic appeal. They can withstand harsh weather conditions, including heavy snow, hail, and high winds. Additionally, metal roofs reflect solar radiant heat, which can reduce cooling costs by up to 25% in the summer. Their sleek appearance can also enhance the overall look of a home, adding to its value.
Moreover, metal roofing offers long-term cost savings. While the initial installation cost may be higher than traditional roofing materials, the longevity and low maintenance requirements of metal roofs make them a cost-effective choice over time. They are also environmentally friendly, as they are often made from recycled materials and can be recycled at the end of their life.
Preparing for Installation
Assessing Your Roof Structure
Before installing a metal roof, it’s essential to evaluate the existing roof condition. This involves checking for any damage or structural weaknesses that could affect the new roof’s performance. Ensuring that the roof structure is sound will help prevent future issues and ensure a smooth installation process.
Gathering Tools and Materials
Having the right tools and materials is crucial for a successful installation. Essential tools include:
- Measuring tape: For accurate measurements.
- Tin snips: For cutting metal panels.
- Drill: For securing panels with screws.
In addition to tools, you’ll need materials such as metal panels, screws, and underlayment. The underlayment acts as a barrier to prevent moisture from penetrating the roof, which is vital for maintaining the roof’s integrity.
The Installation Process
Step-by-Step Guide to Overlapping Panels Lengthwise
Step 1: Preparing the Roof Surface
Start by cleaning and inspecting the roof. Remove any debris, dirt, or old roofing materials to ensure a clean surface for the new installation. Check for any structural issues and make necessary repairs to ensure the roof can support the new metal panels.
Step 2: Installing Underlayment
The underlayment is a critical component in preventing moisture penetration. Lay it down carefully, ensuring it covers the entire roof surface. Overlap the edges to create a continuous barrier, and secure it with roofing nails or staples.
Step 3: Aligning and Overlapping Panels
Proper alignment is key to a successful installation. Begin by aligning the first panel at the edge of the roof, ensuring it is straight and level. Overlap each subsequent panel lengthwise, following the manufacturer’s guidelines for the correct overlap distance. This technique helps prevent water from seeping between the panels.
Secure the panels with screws, placing them in the raised rib sections to avoid water penetration. This not only ensures a tight fit but also enhances the roof’s overall durability.
Common Mistakes to Avoid
Avoiding common mistakes can save time and prevent costly repairs. Some frequent errors include improper panel alignment and insufficient fastening. Ensure panels are aligned correctly and securely fastened to prevent them from shifting or coming loose over time.
Maintenance Tips for Longevity
Regular Inspections
Conducting periodic checks for damage or wear is essential for maintaining your metal roof. Look for signs of rust, loose fasteners, or any other issues that could compromise the roof’s integrity. Regular inspections can help catch problems early, preventing more significant issues down the line.
Cleaning and Care
When cleaning your metal roof, use gentle methods to avoid damaging the protective coatings. A soft brush and mild detergent can effectively remove dirt and debris without harming the roof’s surface.
Addressing Common Issues
Common issues such as rust spots or loose fasteners should be addressed promptly. Treat rust spots with a rust-inhibitor and tighten any loose fasteners to maintain the roof’s stability and appearance.
Conclusion
Recap of Key Points
Proper installation techniques are crucial for maximizing the durability and longevity of metal roofing. By following the steps outlined in this guide, you can ensure a secure and long-lasting roof that withstands the elements.

